How to Make a Homemade Photo Hanger Display
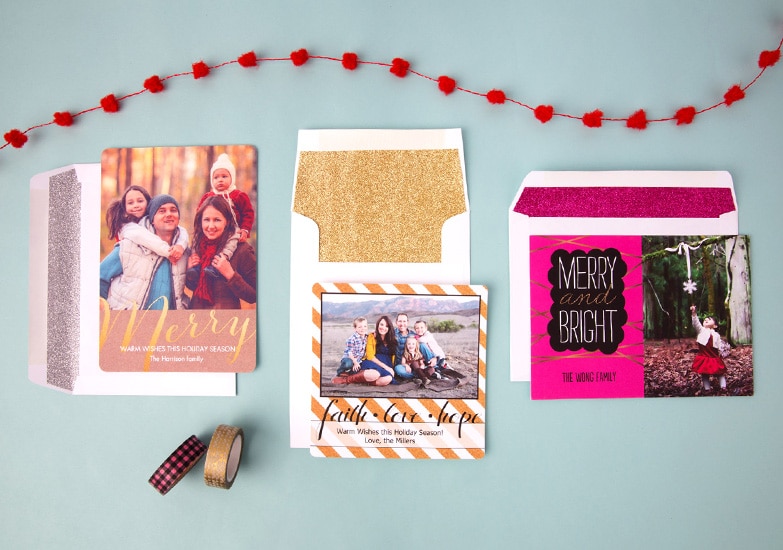
We believe that everyone should enjoy printing their photos (that’s why we created Snapfish, after all 😉). They add a ton of character and charm to any room, and our DIY Photo Hanger Display will bring your home décor to a whole new level of fun. So, you’ve printed off a collection of your favorite photo moments and have no idea how to make the most of them? We’ll show you how you can get creative and display your photos in a unique way with this easy and highly satisfying design hack. Plus, the items you need are budget-friendly! Here’s what you will need:
- String
- Your photos. (The smaller, the better! Check out our 4×4″ Square Prints here.)
- Scissors
- A clothes hanger. (We prefer the wooden kind, but any plastic or wire hanger would also work. You could always bling it up with washi tape or tinsel.)
- Scotch tape
- A wall hook (if you don’t already have a place to hang it)
Step 1
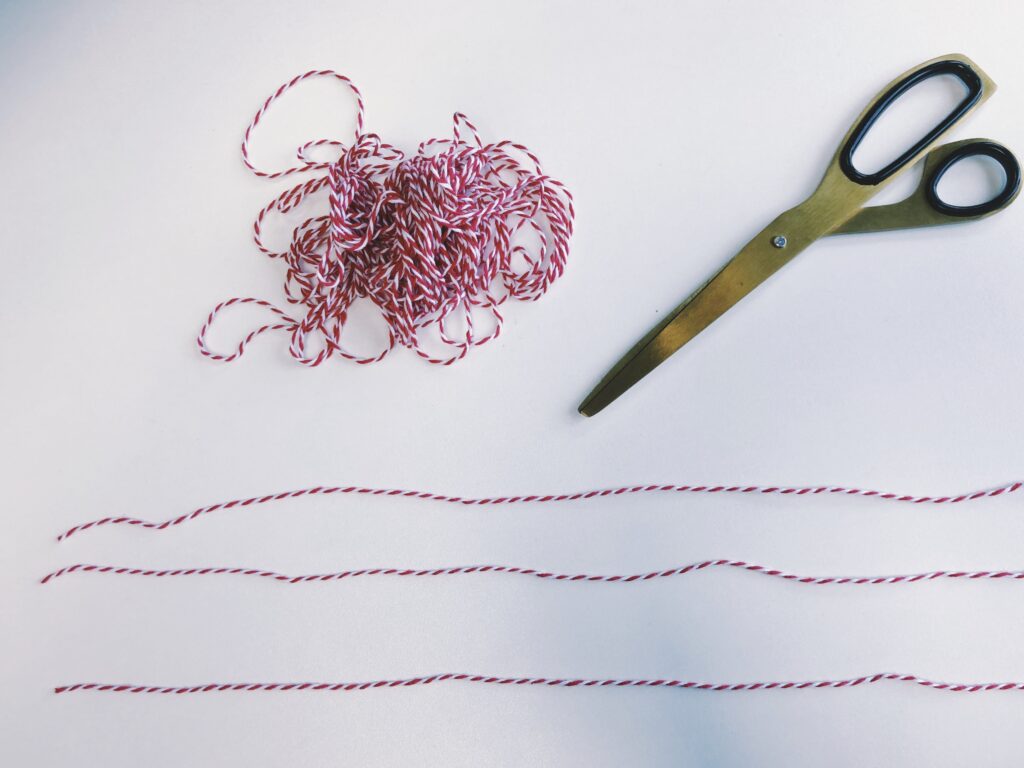
Cut three strands of string (all the same length). Make sure you cut them generously so you don’t run out of length at the end! You could always trim them down at a later stage.
Step 2
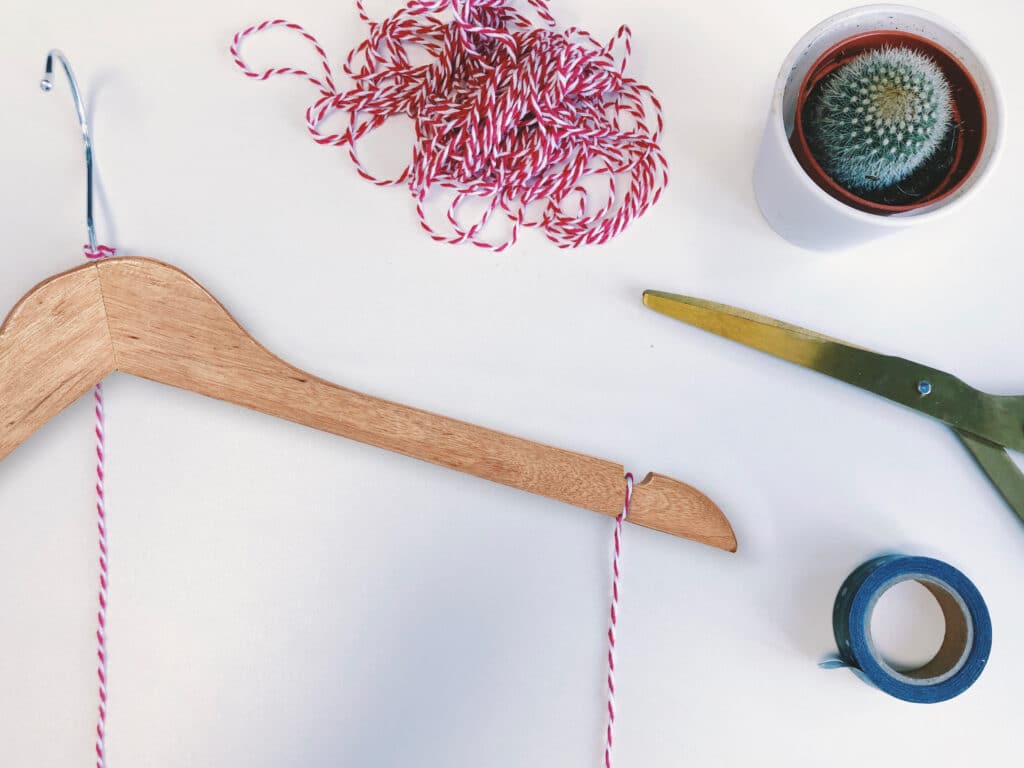
Tie the strands of string to your clothes hanger. Tie them loosely at first so you could then play with the exact placement. Once you’re happy, tighten the knots.
Step 3
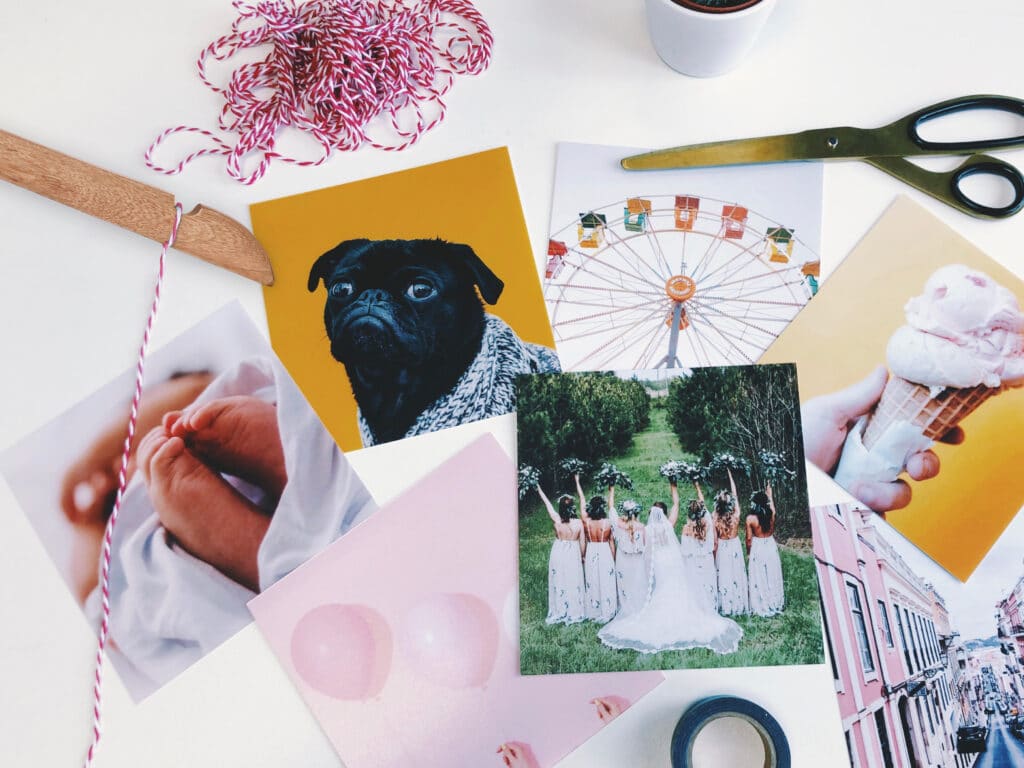
Decide which prints you’d like to go on each strand of string.
Step 4
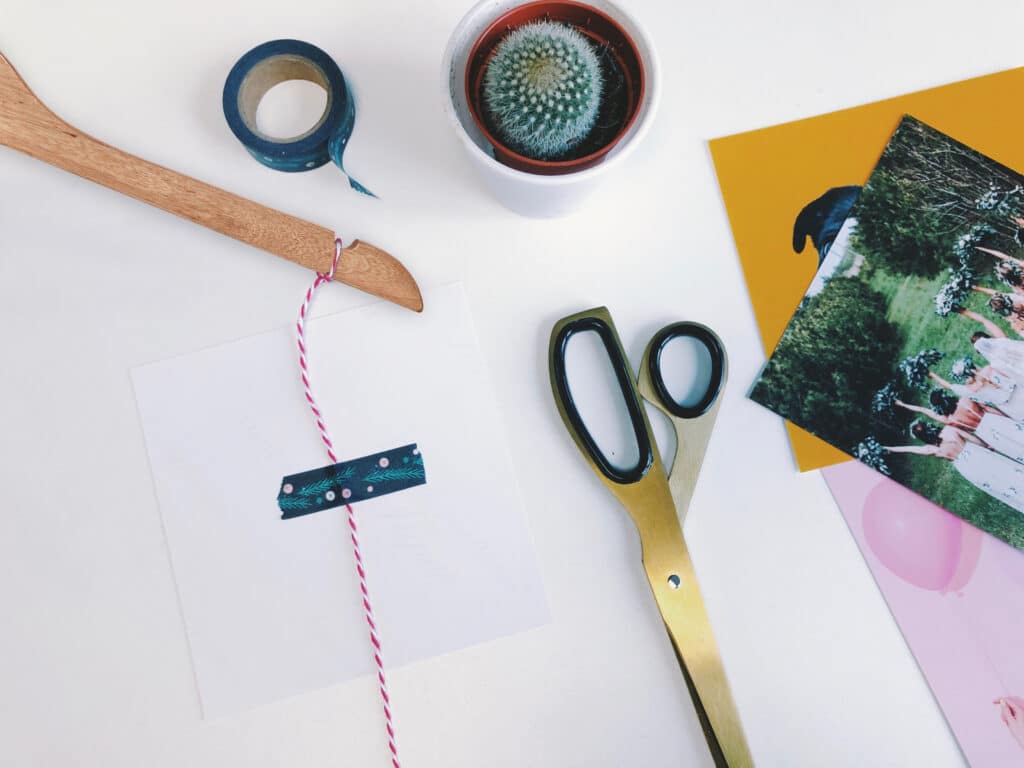
Attach each print to the strands of the string by placing a piece of sticking tape to the back of the print.
Step 5
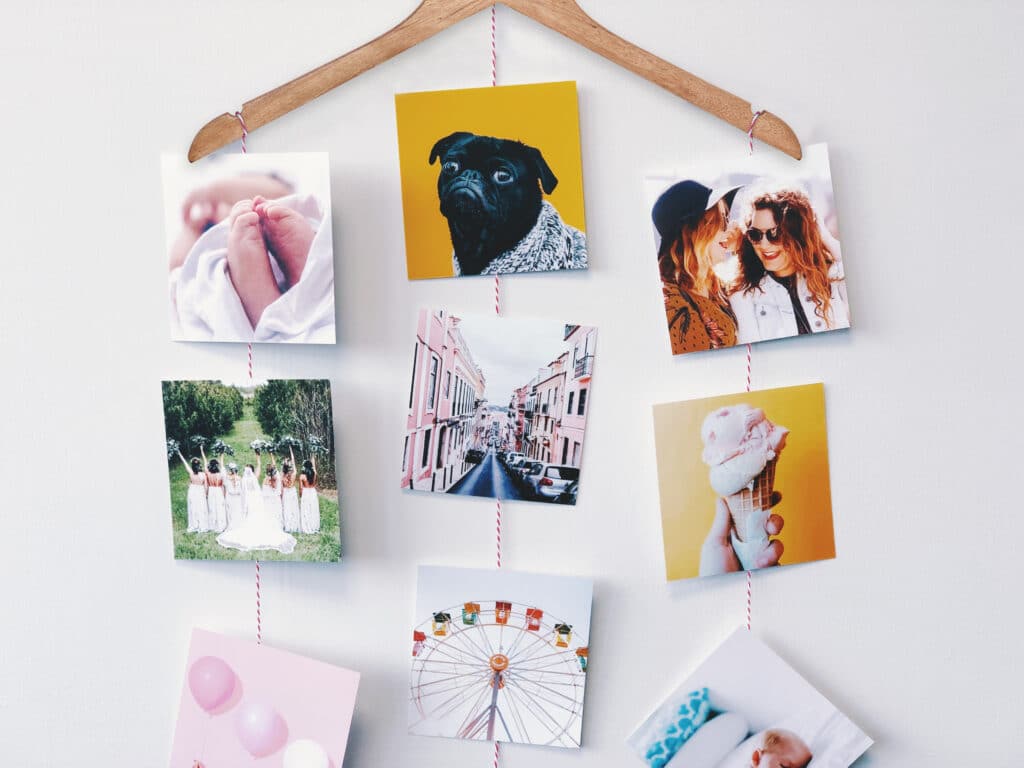
Voilà! You’ve got yourself a Homemade Photo Clothes Hanger. Feel free to go really wild and further customise with decorative foliage, fairy lights, ribbons and more.
We love seeing what you come up with! Please tag us @SnapfishUS and #snapfish on Facebook, Instagram & Pinterest. Check out the Snapfish site for even more custom gift ideas.


