With technology today, most folks have come to rely heavily on their phones or computers to keep them organized. However, when you’re on your digital device, there are so many notifications that pop up and distract you from the task at hand.
How many times have you had to reboot your computer or reset your password just to access your digital calendar? That’s why it’s nice to keep a separate analog calendar to help you stay on time and on target. Another bonus? Studies have shown that writing down information by hand, instead of typing it out, leads to better memory retention. Sounds like a great reason not to go completely paperless!
So, why should you choose a customizable calendar from Snapfish instead of an ordinary one? For starters, you can add your own photos at no extra cost! It’s nice to have a daily reminder of favorite vacations or family moments. An added feature of our personalized calendars is you don’t have to wait for a new year to purchase. You can start your calendar on the month of your choosing — no more wasted calendar pages! Some of our calendars even have the option to personalize special dates with photos and text. Now you won’t forget that special someone’s birthday or anniversary! Read on to see the many ways you can customize a calendar with Snapfish.
Calendar Types
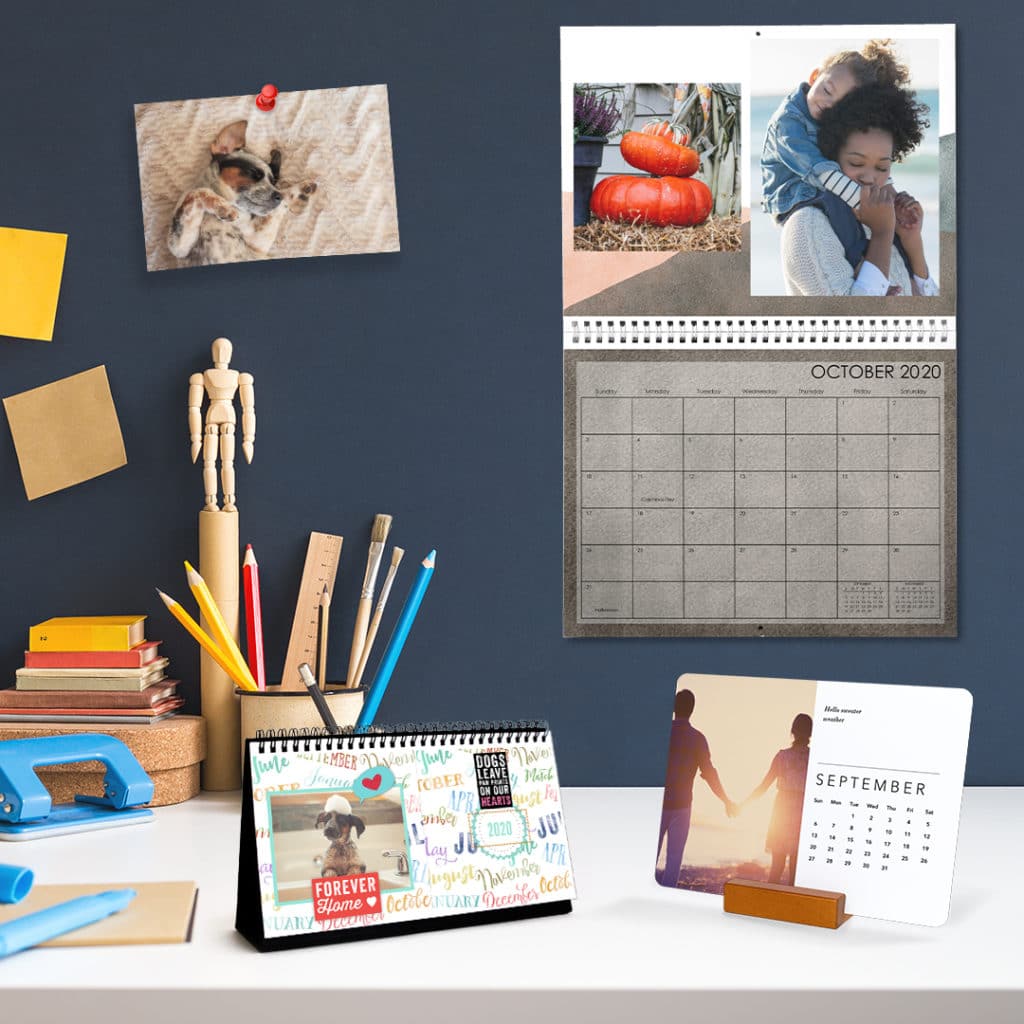
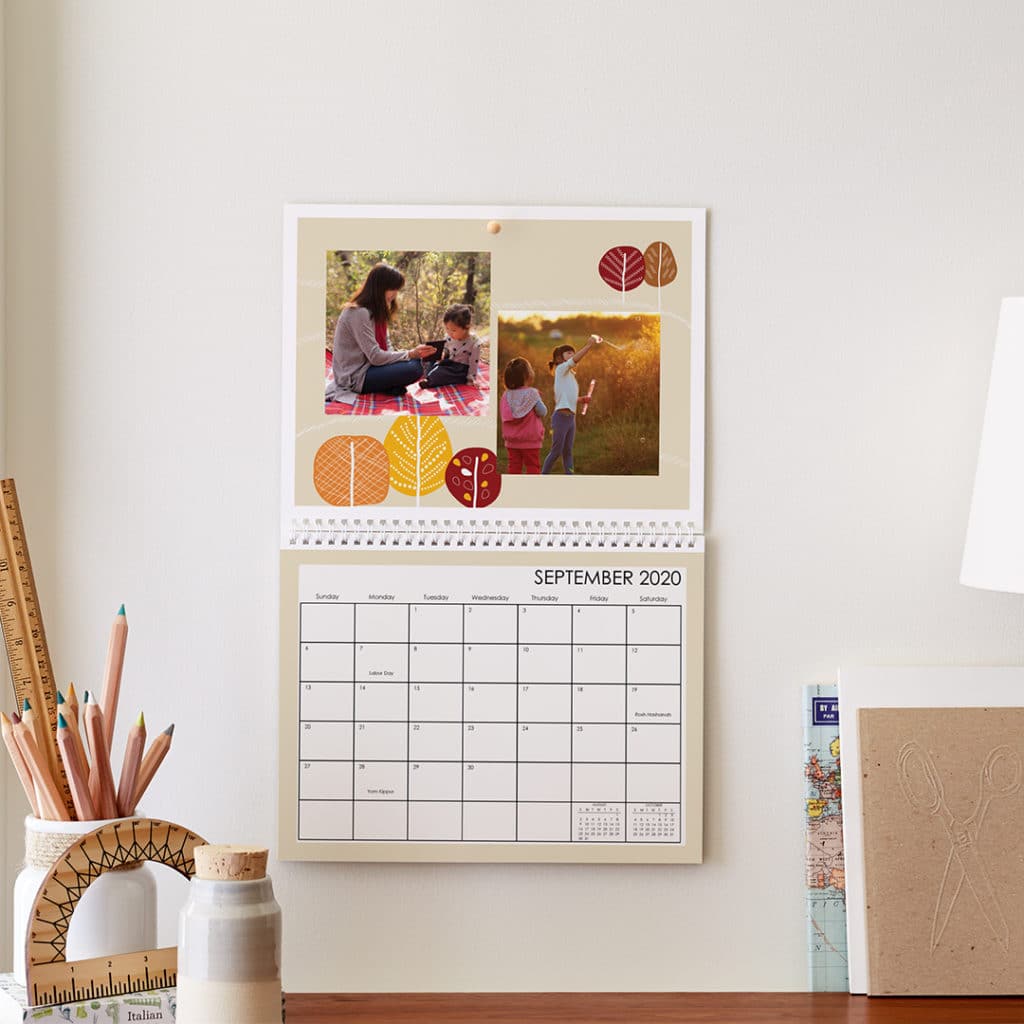
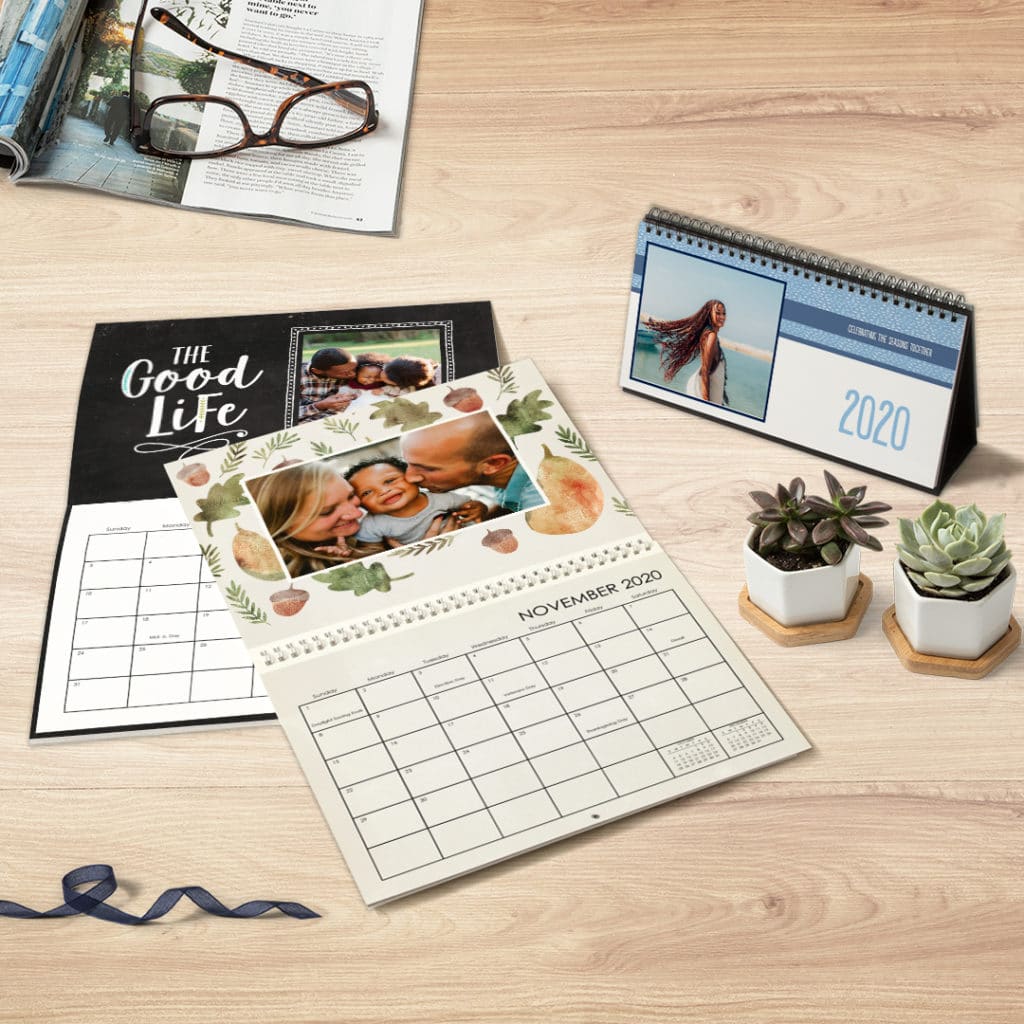
Whether your photo calendar is at home or in the office, we have plenty of options that will suit your space. A lot of people enjoy a larger wall calendar, so they can write down key dates and other important events. Plus, they can get a feel for the month’s appointments ahead with one quick glance. Our wall calendars are available in size 8.5×11, 9×12, 11.5×14, and 12×12.
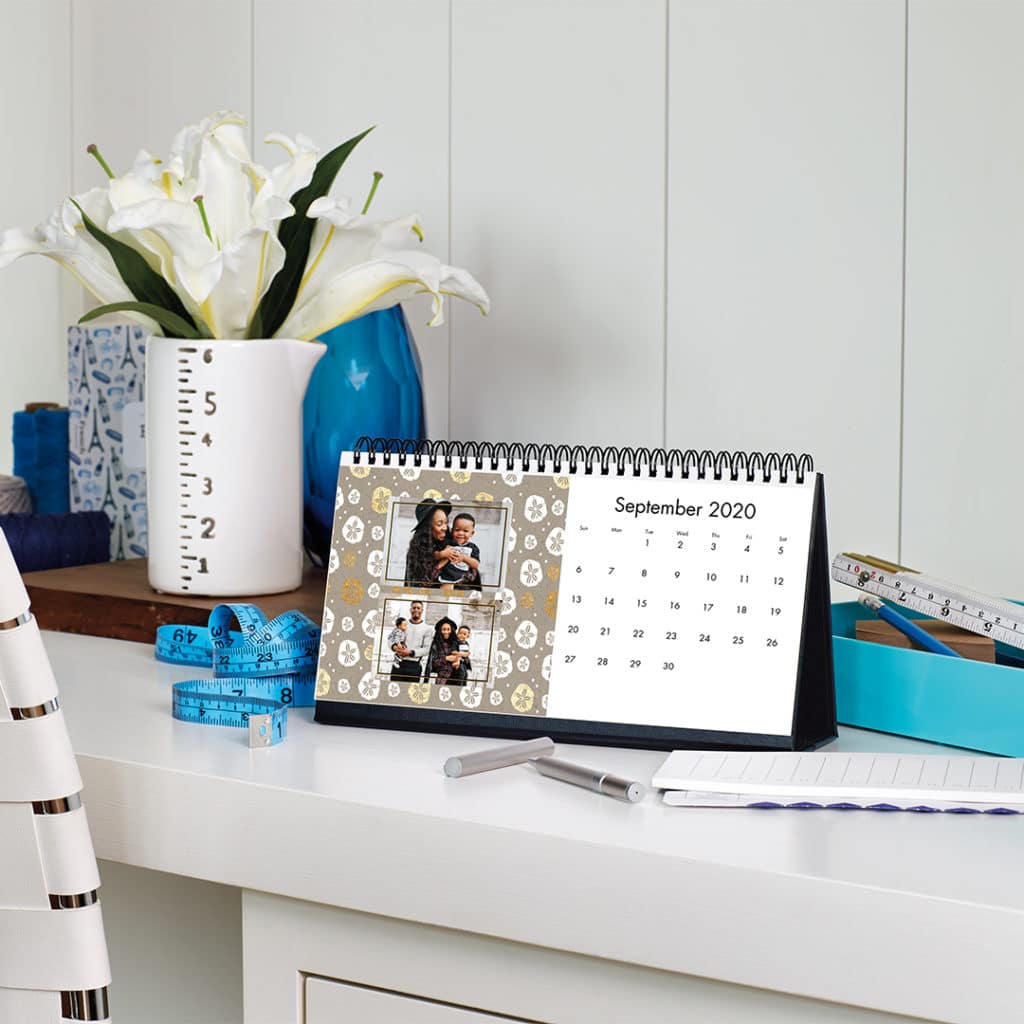
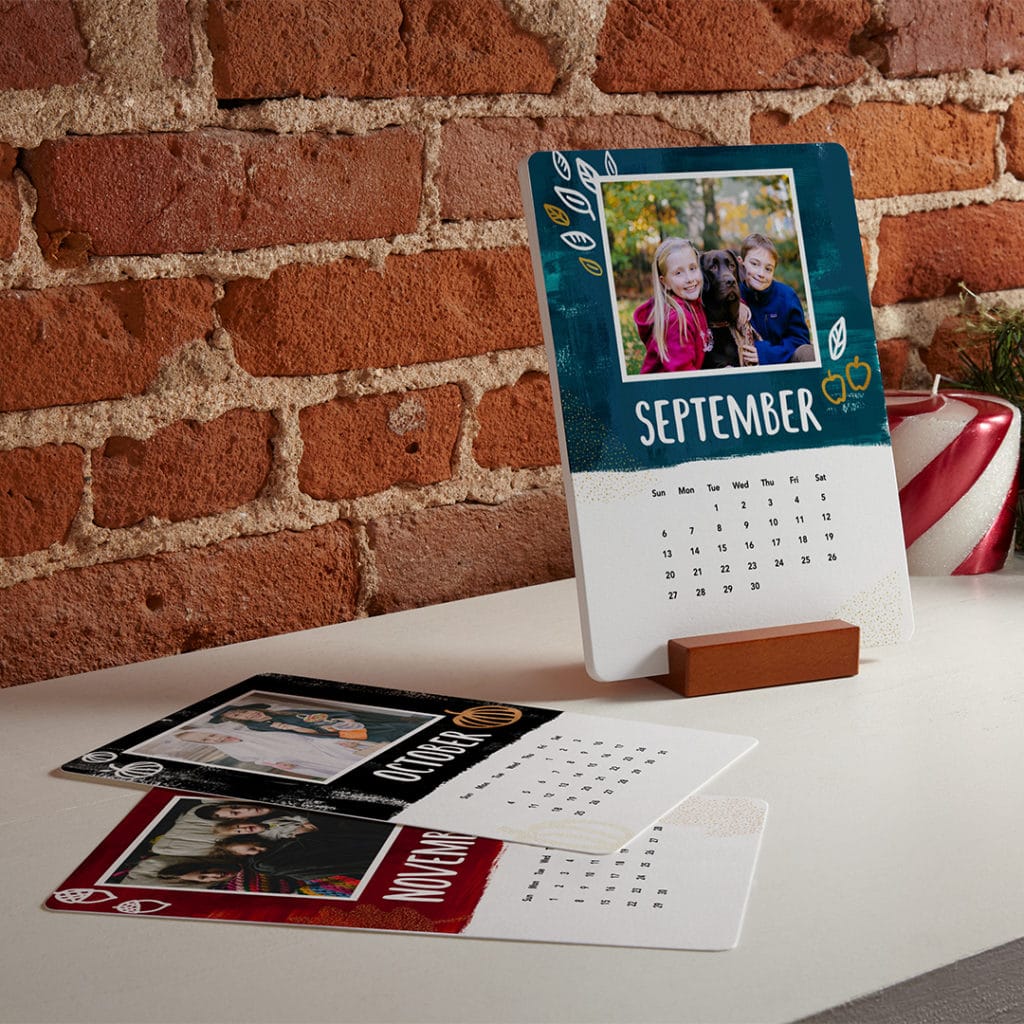
If you’re short on wall space, our desk calendars are a nice option. The desk-friendly flip format means you’ll still have plenty of space for your computer and other office supplies. Our desk calendars come in size 10×5, with your option of a standard paper or faux leather stand. If you really want something unique, try one of our wood block desk calendars. Each order includes 12 customizable calendar cards, one for each month. Cards slide into the included wooden block for a sleek, modern look. Calendar cards are printed onto 6×8 cardstock.
Contemporary Designs
If you’d like to shop for a custom calendar by design style, we’ve got you covered! To see trending new designs created by our talented in-house team, check out our What’s Hot section. If you’re into celebrating the beauty of each month, see what’s in our Seasonal section. If you’re more minimalist, you’ll love our Simple designs. If you’re looking to celebrate loved ones year-round, check out what’s in Family + Friends. Pet owners, adventure-seekers, and more will adore our Specialty section. Lastly, you’ll find stylish shapes and beautiful botanicals in our Patterns + Florals designs.
Fonts + Embellishments
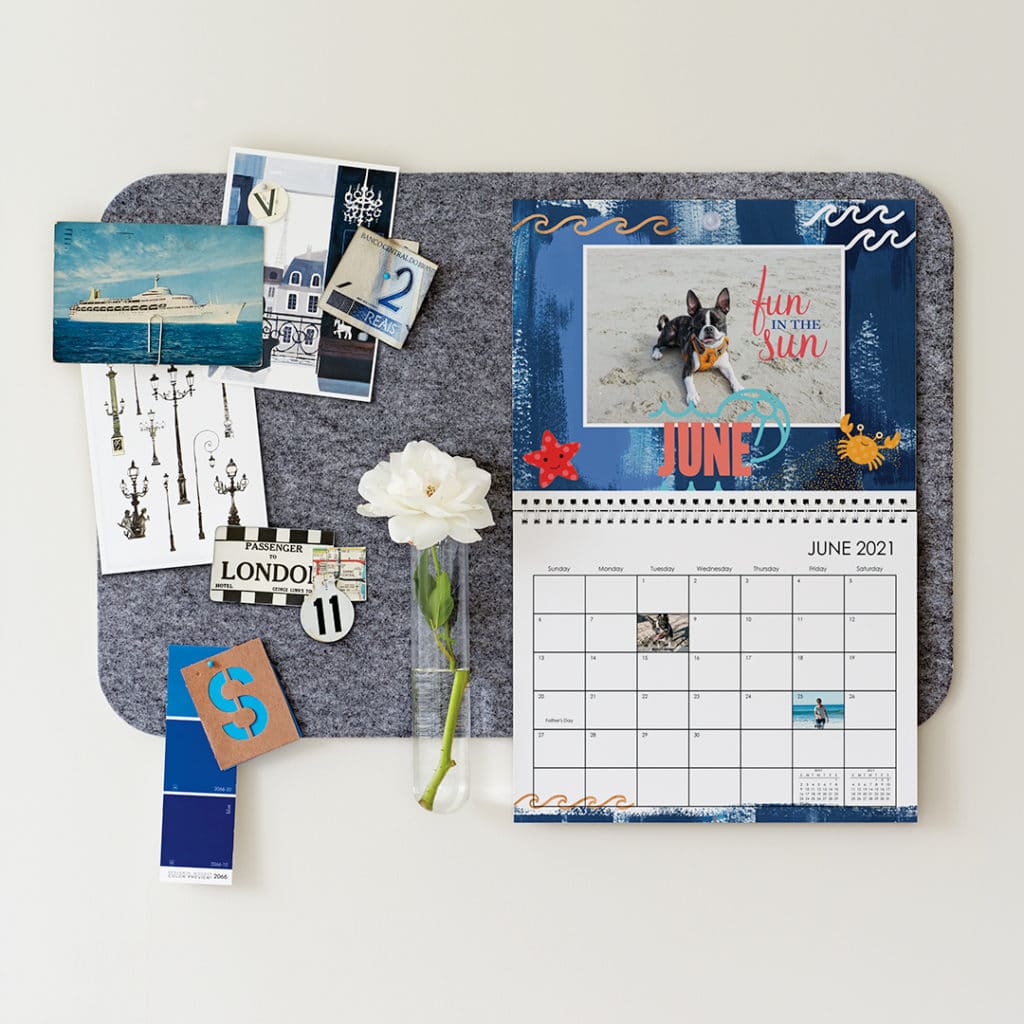
Want to add extra pizazz to your calendar? Check out our section of fun fonts and embellishments! We have over 40 new fonts you can use when you’re adding captions or personalizing special dates like anniversaries, birthdays, and other important events. As far as embellishments go, we have over 3,000 embellishments to choose from! You can find cool phrases, seasonal touches, adorable animals, and more.
Time To Get Creative
Ready to create your personalized calendar? Let our project builder guide you through the process!
Desktop Instructions:
- From the Snapfish home page, select “Calendars”. You can browse by size, calendar type, and designs.
- Once you’ve found a style you like, you can select the starting month and click “Make This Calendar.”
- Now that you’re in the project builder, you can add photos to your Snapfish account. Choose from multiple sources such as your computer, Facebook, Google Photos, Instagram or Flickr account.
- After adding photos, you’ll be asked if you’d like the builder to autofill your photos. If you choose autofill, don’t worry, you’ll be able to swap out photos accordingly.
- If you opt for manually adding photos, you can now select which photos you’d like to use in your project. They will appear in the Photo tray in the Builder toolbar.
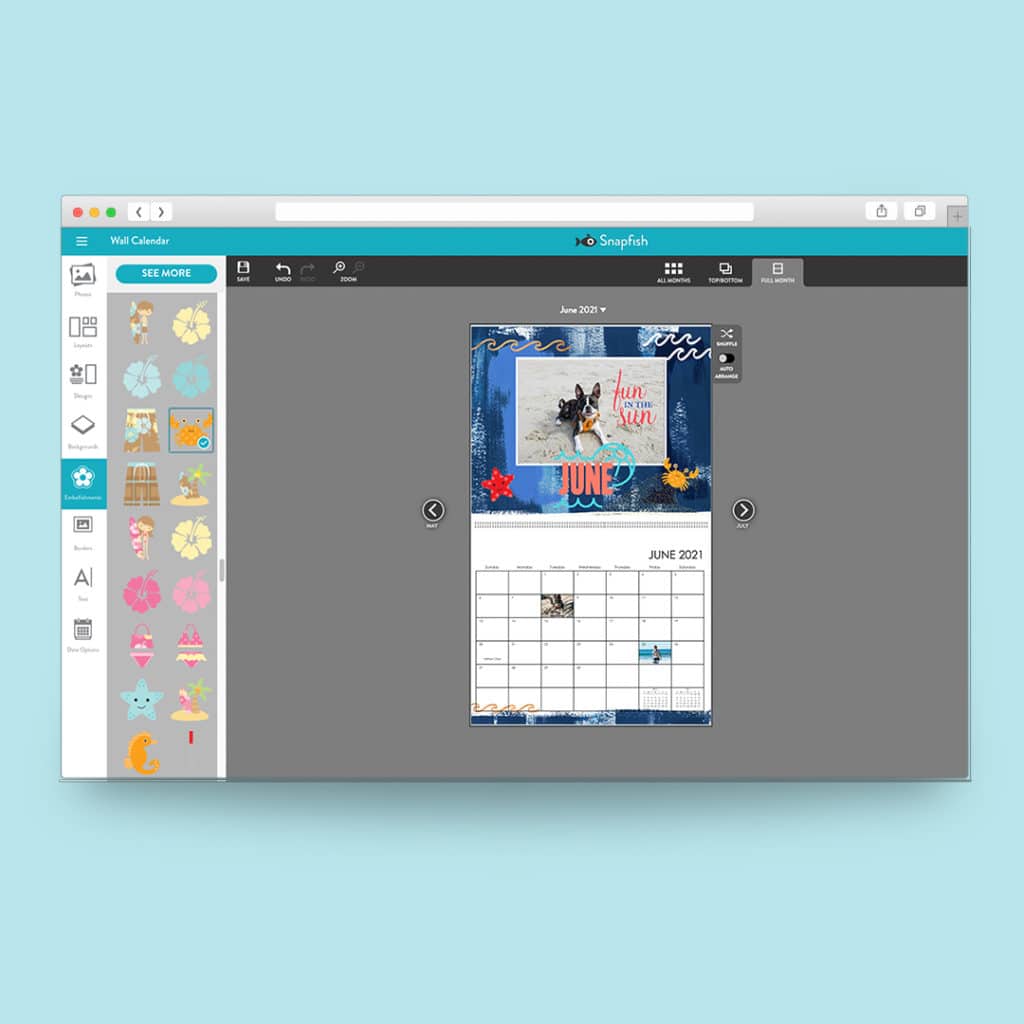
- Depending on your preference, you can view your project by “All Months” or “Full Month”. Simply select the tab at the top of the project builder.
- Place your pictures by dragging them from the tray to the designated space.
- After your pictures have been added, you can adjust as needed. If you’re in “All Months” mode, double-click to edit in “Full Month” mode. Now, use the hand icon to adjust the orientation of the photo or zoom in and out to adjust the crop.
- While in the builder you can also edit the photo’s color, contrast, brightness, or add filters.
- If your calendar has captions or other editable text, you can use the Text tab in the builder toolbar to change font type, size, color, alignment. You can also add a text area to your calendar if desired.
- Looking to personalize a special date with text and photos for wall calendars? Click into the month you wish to personalize, and select the “Bottom” tab. From here you can click any date to add a photo and text. You can change the font type, color, and alignment in the Text tab. Once you’re finished, you can click “Save” or “Save + Add More” to personalize additional dates.
- If you want to add embellishments to your wall or desk calendar, click into the month you wish to personalize. You’ll need to select the “Top” tab if you’re editing wall calendars as this is the only section you can add embellishments to. From here you can click on the Embellishments tab in the builder toolbar to browse your options. To add an embellishment, you can double-click or drag + drop.
- You can edit the embellishment if necessary. Editing options include changing stacking order (back or front, for overlapping objects), resizing, rotating, and deleting. To resize, click on the embellishment. A dotted square will highlight, and you can move the corners in and out to adjust size. To rotate, click on the embellishment. The rotational arrow underneath the embellishment will highlight and you can now mouse over and grab the arrow, rotating your embellishment to your desired position.
- When you’re finished editing your calendar, click “Review & Buy.” Then, click “Back to Edit” to make additional changes, or “Add to Cart” to proceed to checkout.
If you need any additional help with the process, check out our handy guide on creating calendars or watch this How To Video.
Feeling inspired to create your own calendar? If do, please share your creation with us on social media! Just tag us with @snapfishus on Instagram or Facebook with your photos or use the hashtag #snapfish. You can also follow us on YouTube, Twitter and Pinterest, too!