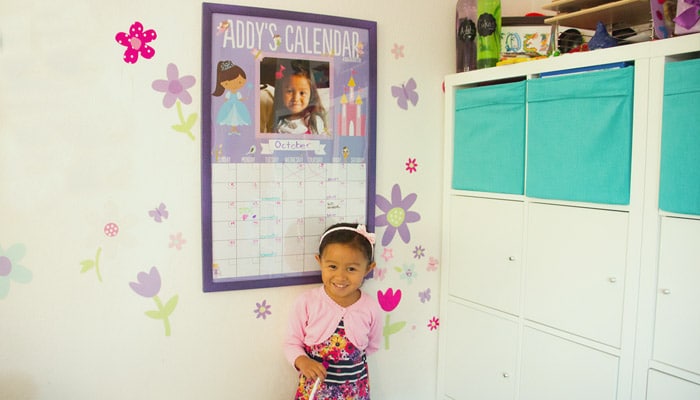
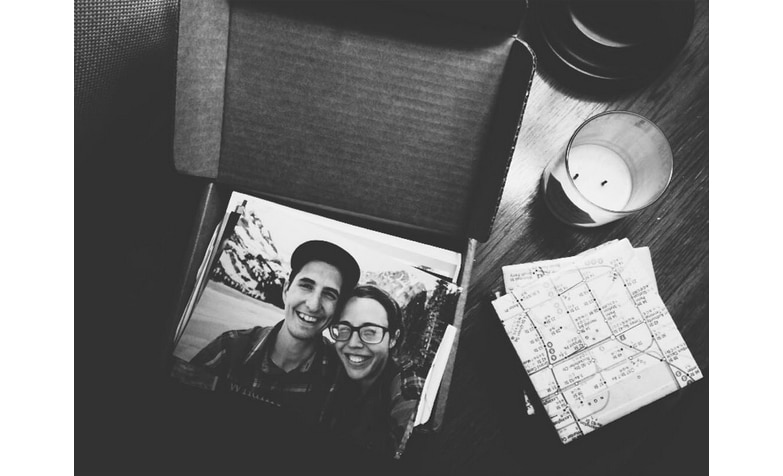
We love Instagram to the moon and back, so we designed a larger-than-life way to enjoy all your photos IRL. Instagram prints are easy to make—follow these steps or jump right in and try ’em out.
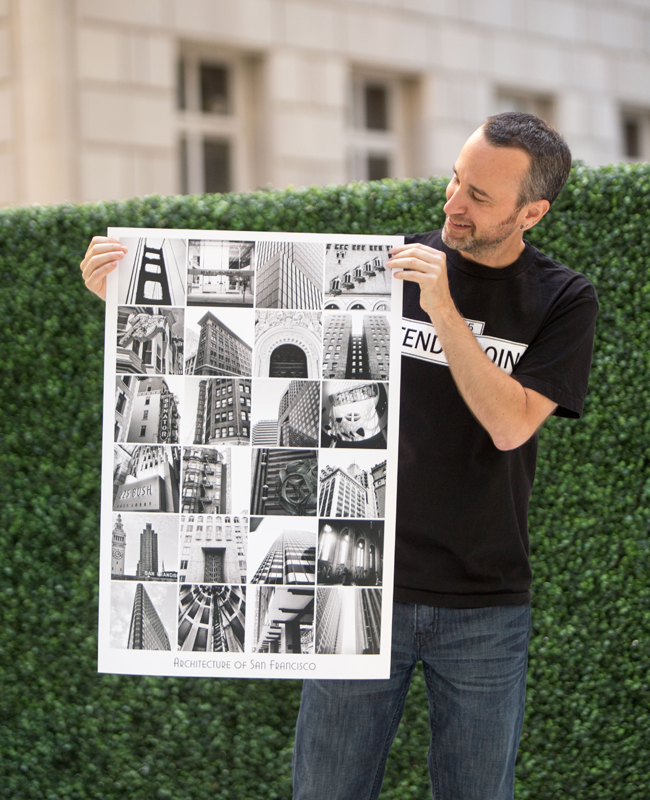
How to make an Instagram print:
1. Choose print size and orientation. The larger the print, the more ‘grams you can show off!
2. Select Layout > Instagram Layouts from the left toolbar, then choose your preferred template. We used the square grid for this post.
3. Think about your photo theme. Select Get Photos and upload straight from your Instagram account.
4. Drag and drop imported photos onto your print grid. Use the Swap button to switch around photos until you’re happy with the layout.
5. Optional: Play around with tools like Backgrounds and Embellishments to make your print unique.
We couldn’t wait to test out this layout and share our Insta-secrets with you. Here are some tips from the Snapfish team:
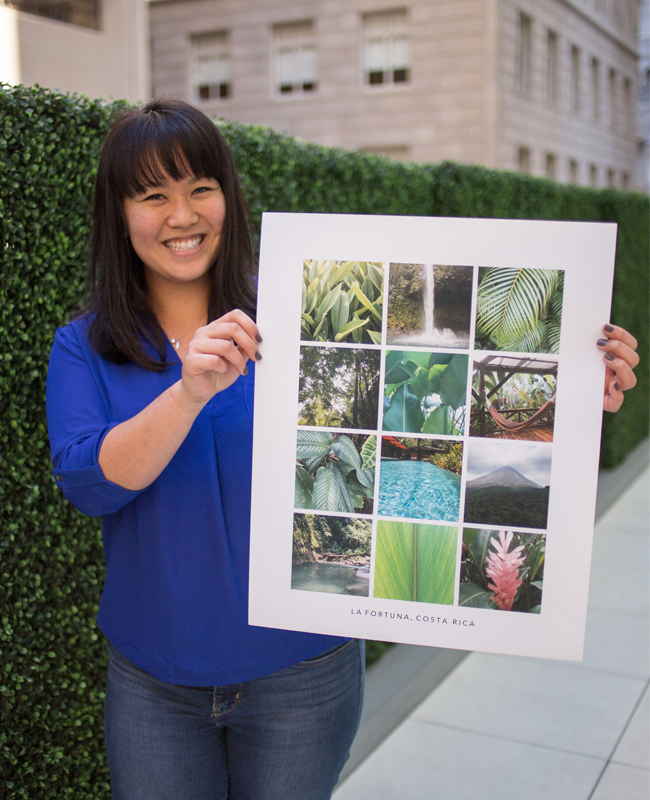
Marissa: “Pick a theme and work towards creating a nice collection of photos. When I went to Costa Rica, I knew that I wanted to capture the natural beauty around La Fortuna through all of its different characteristics. Everywhere we went I made sure to snap something to capture the lush space, either close up or from afar.”
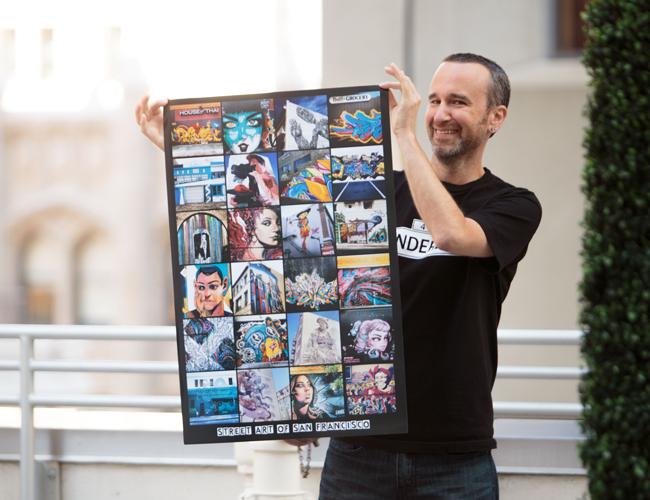
Ian: “If you don’t have enough photos to fill all photo slots, select and delete some. Then the trick is to use the Shuffle button to enlarge and re-align all of the remaining slots to the grid. Experiment by deleting more boxes and using Shuffle until you get a layout you are comfortable with.”
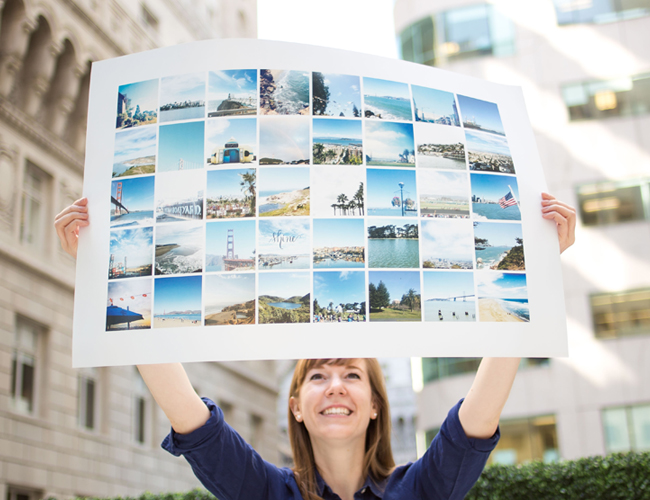
Elysa (that’s me!): “Play around with your photos so that similar colors are dispersed across the print. Put photos with light backgrounds in different corners and separate those bold shots—much easier on the eyes.”
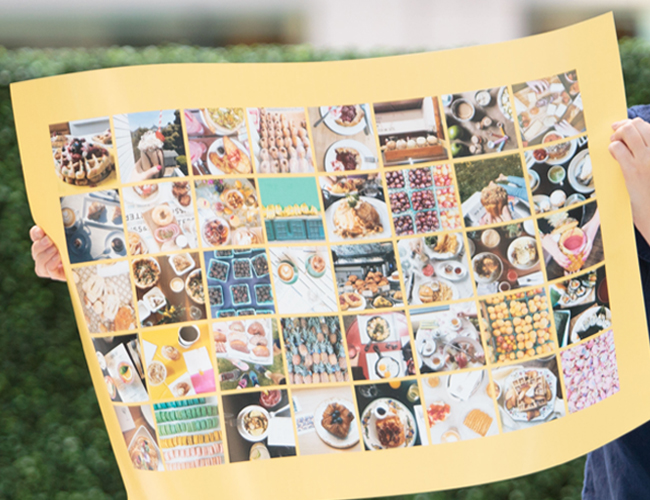
Start making your Instagram print! Will it be brunch themed? Or photos of all the crazy cousins?
We love seeing what you come up with! Please tag us @SnapfishUS and #snapfish on Facebook, Instagram & Pinterest. Check out the Snapfish site for even more custom gift ideas.

