Did you know that March is officially National Craft Month? If you’ve been wanting to do something exciting with those photos on your phone, Snapfish is here to help you unleash your inner artist! For over 20 years, Snapfish has inspired customers across the globe get creative with their pictures through photo books, canvas prints, home décor, and more. Don’t worry if you’re not an experienced crafter, this month is your chance to try something new and have fun with it. To get you started, we’ve rounded up some DIY projects that we know you’ll enjoy.
Have fun with photo books
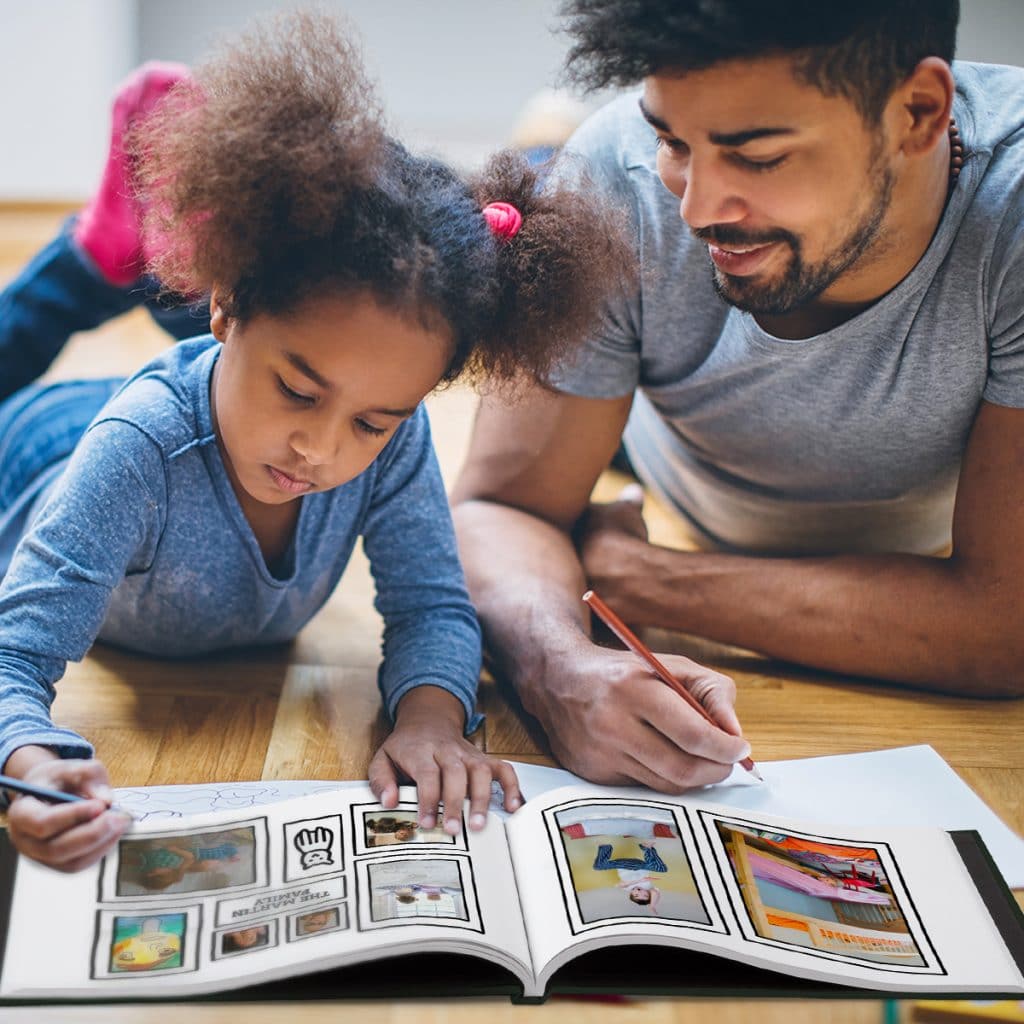
Looking for a great starter project that’s not too labor intensive? We actually have a photo book you can personalize now and color later. Choose our Social Distancing Coloring Book design and add your favorite photos + custom captions. Once it arrives in the mail you can start coloring with markers, crayons, or colored pencils! It’s a great stress relieving activity the whole family can contribute to.
Another creative photo book project we kept seeing pop up online was accordion photo albums. You can find lots of different tutorials out there, but this one from October Afternoon looked stunning with great step-by-step instructions. The basic materials you’ll need are cardstock, photo prints, scissors, adhesive, and a pencil. However, if you want to take this idea to the next level, you’ll want to add washi tape, fabric, patterned papers, ribbon, and other embellishments.
Create a cool collage
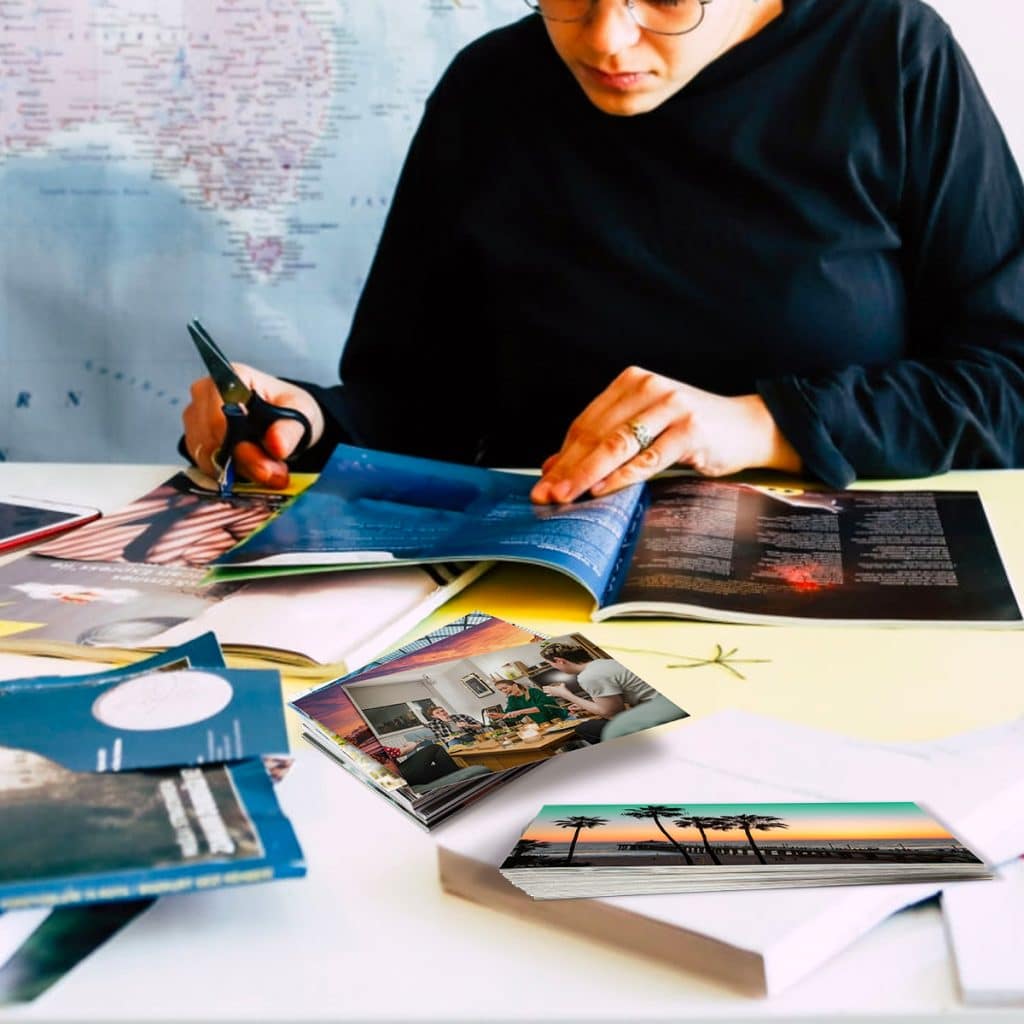
When you download the Snapfish App, you get a credit for 100 FREE 4×6 prints each month. A lot of our customers take advantage of this perk by using their photo prints in different DIY projects. One easy way to use your prints is by creating a poster collage. Materials you’ll need are poster board, glue, scissors, photo prints, magazine cutouts, markers, and paint. If you’re stuck on what images to use, try picking a color scheme. You could start with all black + white photos and then add in colorful captions or flourishes. Or pick your favorite hue and go for a monochromatic theme.
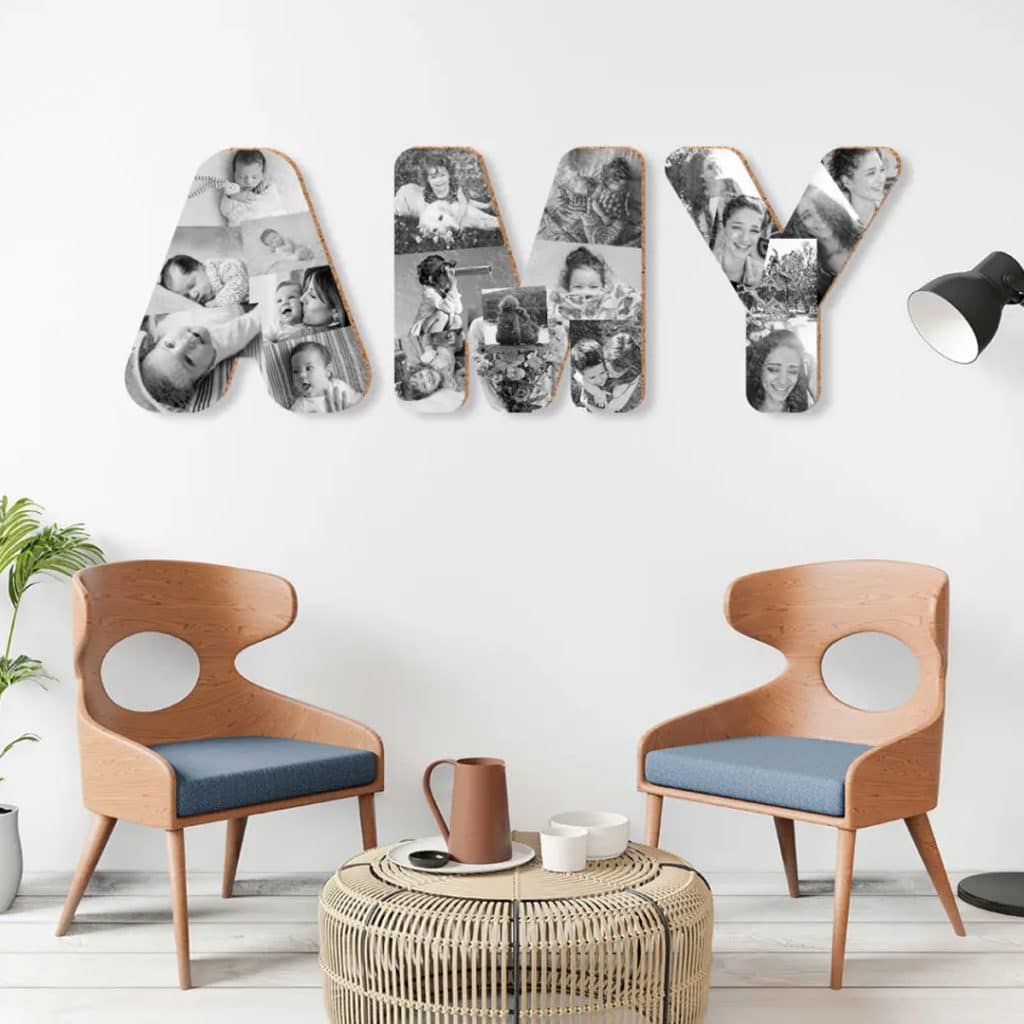
Once you’ve mastered the poster collage, you’ll want to try this DIY photo monogram that we mentioned in our virtual birthday blog post from last year.
Materials
- Wooden letters from craft store
- Spray paint
- Photo prints
- Scissors
- Decoupage glue or sealant
- Foam brush
Directions
Simply spray paint your letter, glue on your photos, and apply Mod Podge or some other sealant. For more detailed instructions, check out this post on eHow.
Wow them with wood
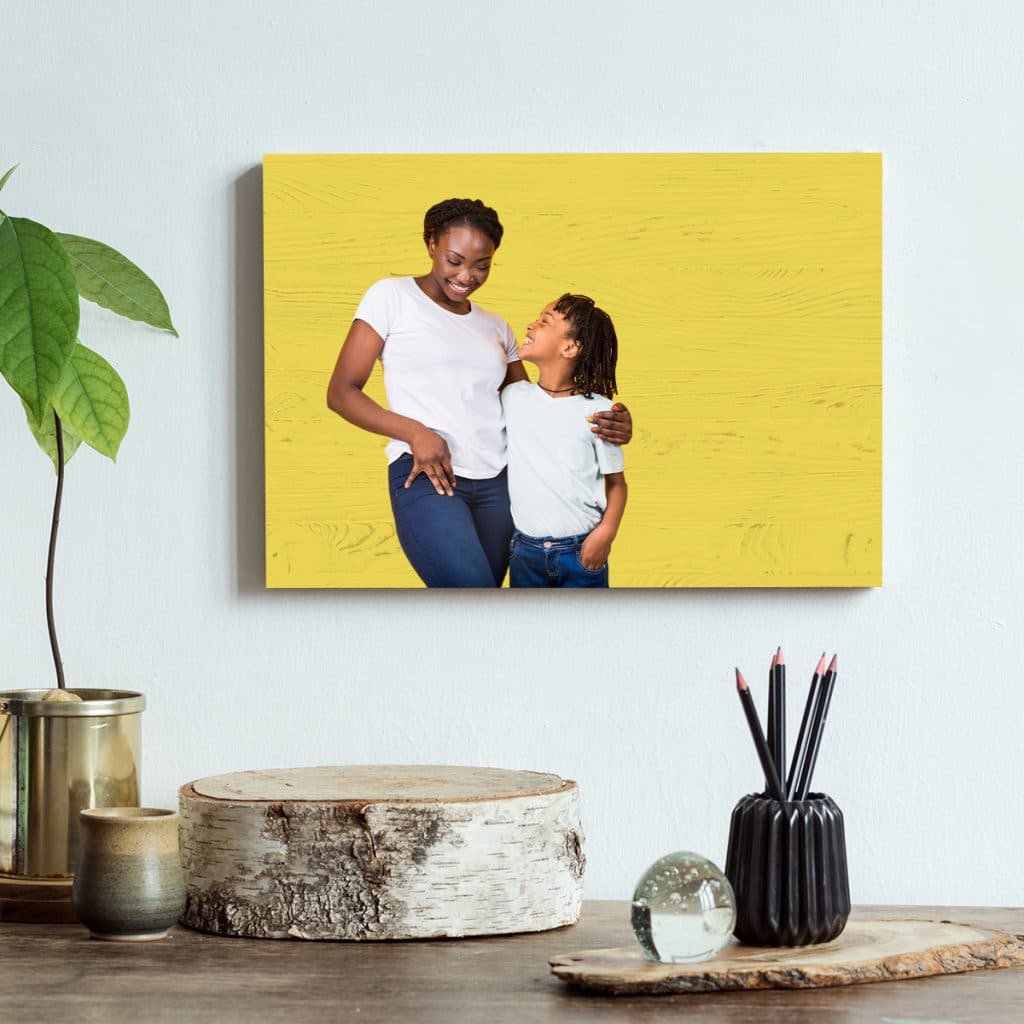
If you want to create stunning art for your home, you’ll love these next two ideas! First up is a simple photo mount project we found on Project Nursery.
Materials
- 6″ x 6″ wood art panel
- Acrylic craft paint
- Paint brush
- Mod Podge (matte finish)
- Sponge brush
- Scissors
- Photo print
Directions
- Paint your wood block with two coats of paint and let dry.
- Carefully crop your photo into the shape you want.
- Apply Mod Podge to the back of the photo and adhere to your wood panel.
- Once dry, apply a layer of Mod Podge to the whole wooden panel to seal.
- Enjoy your work of art!
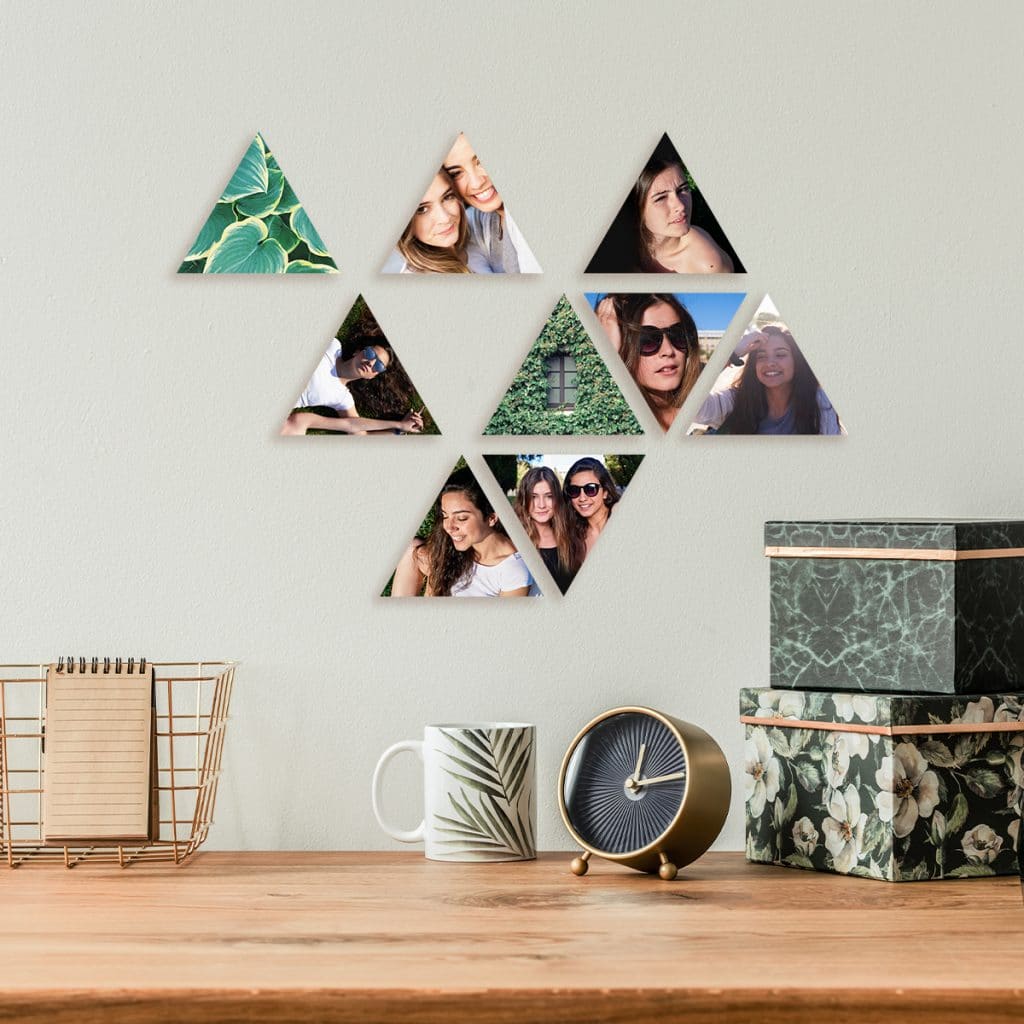
If you’re a little more advanced, you can also try this DIY Photo Triangle project we found on Shelterness.
Materials
- Wooden triangle or panel
- Saw
- Sandpaper
- Photo prints
- Ruler
- Sponge brush
- Paint
- Glue
- Pencil
Directions
If you can’t find a premade triangle at the craft store, you can create your own with a wooden panel. Using your ruler and pencil, draw a simple triangle shape on your wooden board and cut when you get the desired shape. Next, paint the sides of the triangle and let dry. While this is drying, cut out your photo print to fit the size of your triangle. Adhere your photo with Mod Podge and let dry. Once that is set, apply a final layer of Mod Podge to the full triangle and admire your handiwork!
Produce Picture-Perfect Puzzles
Don’t forget to let the kids get in on crafting projects too! Making your own photo puzzles is a fun way to get creative and spend quality time together. A really easy one the littles one love is this DIY Lego puzzle!
Materials
- Lego Duplo blocks
- Double-sided tape
- Scissors
- X-Acto knife
- 4×6 photo prints
Directions
Simply start with a vertical stack of 6 blocks and cut out your photo to fit to the side. Stick your photo to the blocks and use the X-Acto knife to slice where the bricks break apart. If you make multiple puzzles the kids will have fun mixing up blocks and laughing at all the silly combinations they can create.
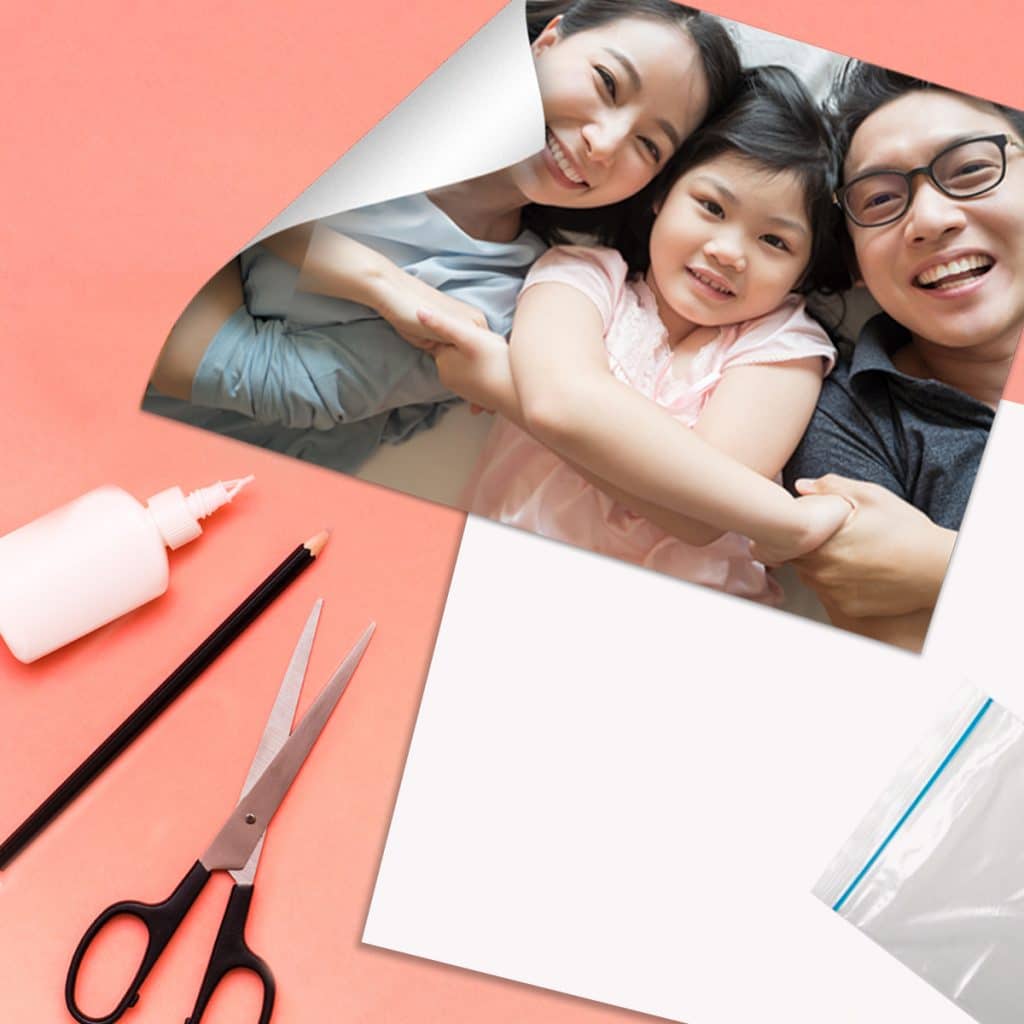
For older kids, try this photo puzzle project we shared last year on our arts + crafts blog post.
Materials
- Large photo print or poster print
- Cardboard or poster board
- Scissors
- Glue
- Pen or pencil
- Ziploc bag for storage
Directions
- Cut your cardboard or poster piece to match the size of your photo print.
- Apply your photo to the cardboard with adhesive. Smooth the image with your fingers so the glue is even.
- Let it dry overnight. Apply a flat heavy object, like a book, so it dries evenly.
- Once dry, draw jigsaw style pieces on the back of the cardboard with your pen or pencil.
- Cut out each piece with scissors.
- Mix up the pieces and put it back together!
Looking for even more DIY ideas? Search our blog to see what other projects we’ve featured!
So, whether you’re a novice crafter or a seasoned professional, we hope you found some exciting new ways to spend National Craft Month! We’d love to see how creative you got with your photos. Make sure you tag us on Instagram or Facebook with your photos or use the hashtag #snapfish. You can also follow us on Twitter and Pinterest, too!

